Centralized Reporting System
Centralized Reporting System
Centralized Reporting System, CRS for short, is a web-based reporting tool that allows you to run various reports for all of your locations in a single page.
What Reports are available?
Below is a list of the reports and a quick description of what they do. New Reports are still being developed and will be made available as they are created.
View Check Cashing Activity, Check Images and Customer Images | |
View Commercial Check Cashing Activity *must be using DCS Commercial Module | |
View Money Order Activity, M.O. #s and amounts | |
View Bill Payment Activity, reference #s, Account #s, and payment amounts | |
View Money Orders for $3,000 + that required a log | |
View CTR Transaction Details, Customer Info and Amounts **Coming soon ** BATCH E-File with FinCen | |
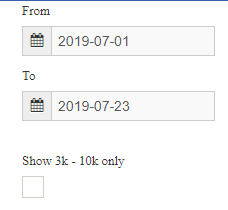
| MTR Report | View customer transaction > = $3,000.00 but less than $10,000.00 |
View SAR Transaction Details, Customer info and Amounts *does not combine stores | |
View any/all ATS Point of Sale Transactions | |
View ATS Transactions filtered by Type | |
Real Time Inventory Totals for locations | |
View Fees by Teller User for a Date Range. Includes overage/shortage | |
View Integrated Wire Transfer Activity *must be using DCS Integrated partners | |
View OFAC request activity | |
View Transactions that contain check cashing and money orders in the same transaction | |
| Time Clock Report | View DCS's time clock values for your locations *Time Clock Feature must be enabled |
| Teller Balance Report | View teller balance data for selected date range and locations |
Lookup any Check Cashing Customer Profile information *1 year if history | |
View Customer Activity between all locations - POS Sales | |
| Supervisor Override Log | View log of DCS overrides in your locations |
| RMS Report | View list of RMS messages sent to your locations *RMS must be enabled |
Getting Started
CRS is optimized for Google Chrome. You will need to download and install it before you can login. You can download Google Chrome at: https://www.google.com/chrome/
Once you have Chrome Installed, you will navigate to: https://crs.dcsorg.com
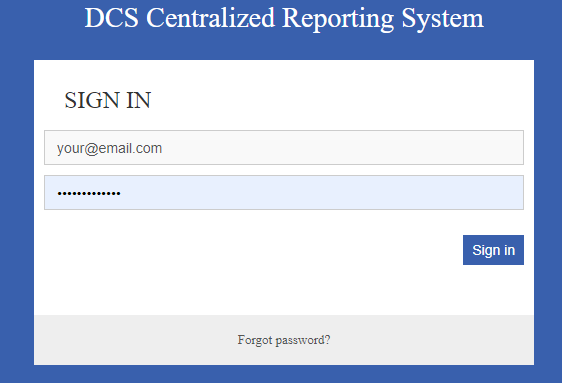
Login
During on-boarding you will receive a user name and password to access this website if you purchased it.
Dashboard
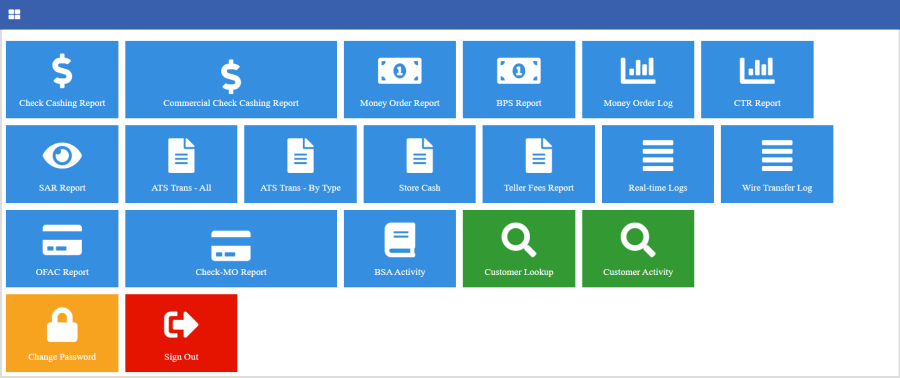
When you login, the first thing you will see is your Dashboard. It gives you quick access to all of the reports available. Click any of the icons to start running a report.
Favorites
Before you go and run a bunch of reports, we suggest you create some favorites to make your life easier as you get started. The locations that are assigned to you can be grouped up however you need them to be. If you know you need to run a report for locations in 1 state, you can create a report for the stores just in that state.
At the top of the main page, there is a View/Edit Favorites icon. Click it to get started.
Click the Add Favorite + sign on the right.
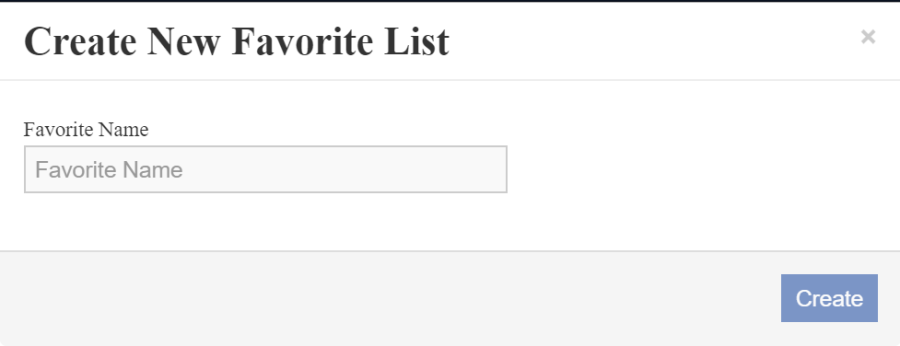
You will be prompted to give the new list a name. Type the name and click Create.
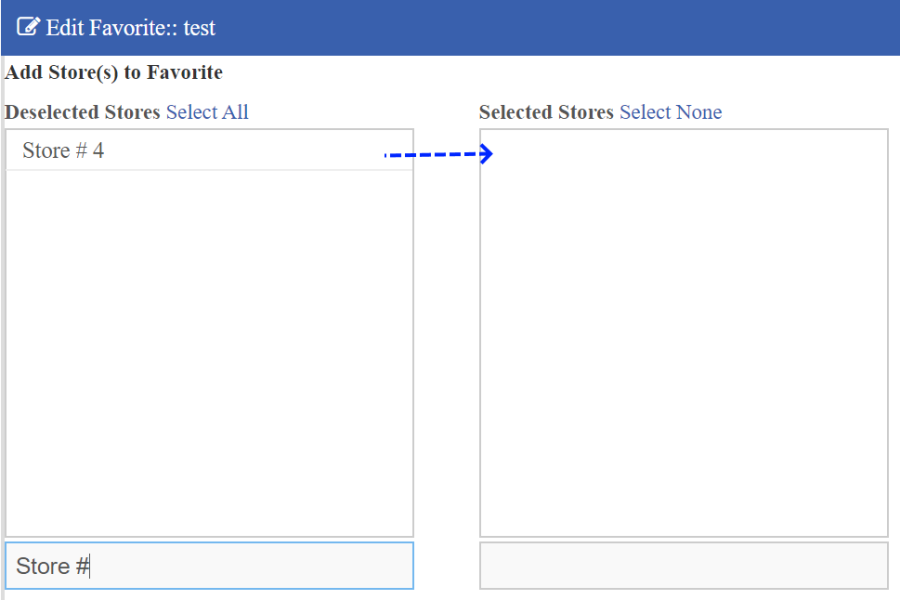
2 boxes will be displayed. The left one will contain all the locations assigned to you. You can use the filter at the bottom to filter the locations you want to select to be part of this favorite list. Just double click the name and it will move to the right box. Keep going until you have all of the locations that you want to be part of this favorite list.
Click Save Selected stores when done.
Now you have a favorite! Create as many as you need.
Running Reports
Below is an example of the Check Cashing Report. We will use it to explain the overall Basics of running a report on CRS.
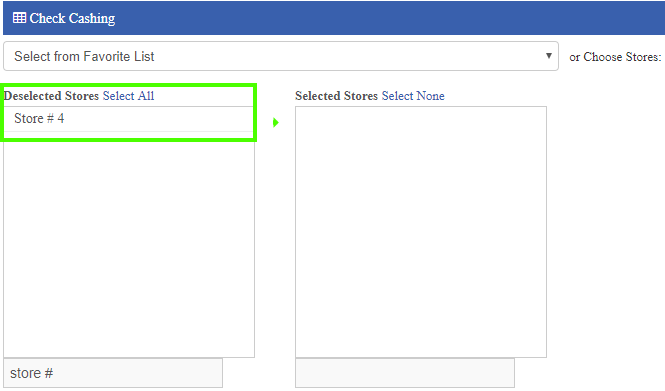
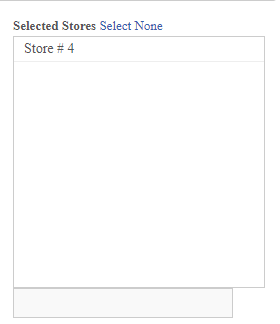
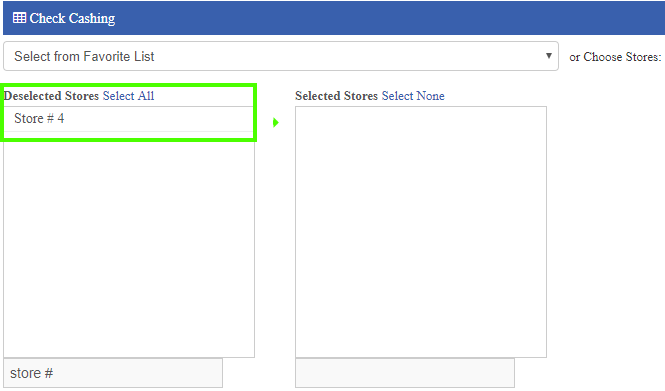
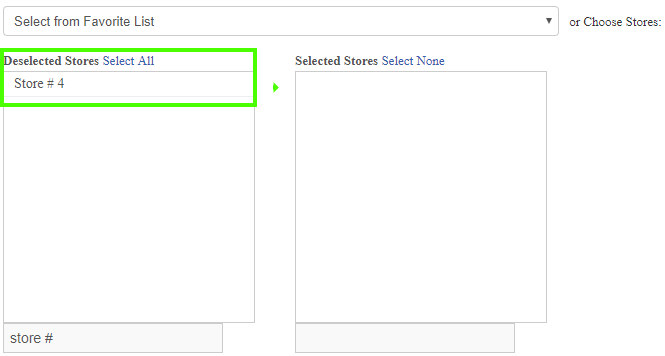
Basic # 1 - Pick your Location(s) OR Favorite Double click each location to move into the 'Selected Stores' list. The report will only pull data for the 'Selected Stores' list. You can also select from a Favorite list if you have them setup.
Basic # 2 - Pick a Date or Date Range and Amount if applicable
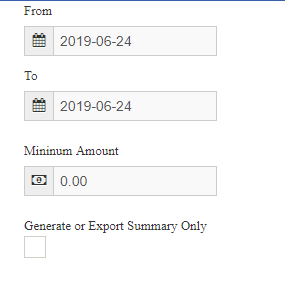
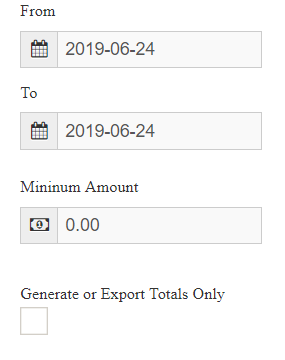
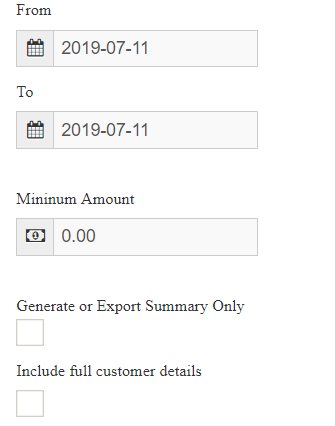
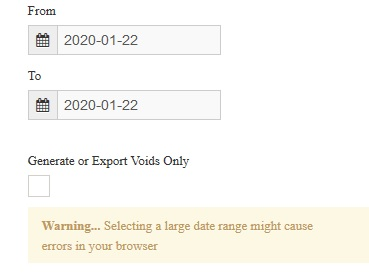
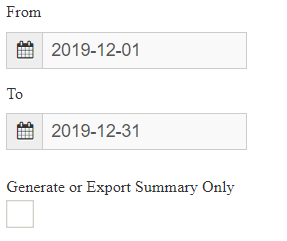
On the right side, users can select the date range, set a minimum amount threshold, and request a summary of the data. The default is to display detailed information.
Basic # 3 - Click Generate Report
You have to click generate to run the report. Exports change based on the reports too.
Basic # 4 - Plus Signs Expand and Eyes are for Viewing
Anywhere you see a '+' symbol, it means you can expand to see more details.
You can also click the eyeball icons to view images throughout the CRS Website.
Basic # 5 - Printing icons or CTRL + P for printing
We know you want to print and we have icons for printing. You can also just press CTRL + P on your keyboard on any page to tell chrome to print what you have on the screen.
That's it! You're ready to run reports.
Top of the Document
Check Cashing Report
The check cashing report on CRS allows users to review check cashing activity for assigned locations.
Select 'Check Cashing Report' from the dashboard to begin.
The user's list of assigned locations is displayed on the left. Double click each location to move into the 'Selected Stores' list. The report will only pull data for the 'Selected Stores' list. You can also select from a Favorite list if you have them setup.
On the right side, users can select the date range, set a minimum amount threshold, and request a summary of the data. The default is to display detailed information.
Click Generate Report.
The data will be displayed on the screen.
- Maker - Company Name
- Amount - Check amount
- Fee - Fee charged at the time of transaction
- Date - Cashed Date
- Check Number
- Routing Number
- Account Number
- Void - Void Indicator
- Teller Name - Customer service rep name
- Store name
You can use the search on the top right of the results to filter down further. you can also Click the 'Export Data' link to export to Excel and use excel to filter data.
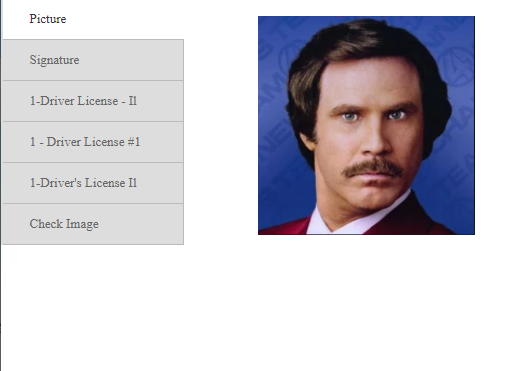
Clicking the '+' will display the customer details along with the option to view the images available for the transaction.
Clicking the icon under 'Images' will open a new page with the available images.
Top of the Document
Commercial Check Cashing
The Commercial check cashing report on CRS allows users to review commercial check cashing activity for assigned locations.
Select 'Commercial Check Cashing Report' from the dashboard to begin.
The user's list of assigned locations is displayed on the left. Double click each location to move into the 'Selected Stores' list. The report will only pull data for the 'Selected Stores' list. You can also select from a Favorite list if you have them setup.
On the right side, users can select the date range, set a minimum amount threshold, and request only totals of the data. The default is to display detailed information.
Click Generate Report.
The data will be displayed on the screen.
Clicking the EYE icons will display the images available for the Check and the customer.
Top of the Document
Money Order Report
The Money Order Report is used to lookup money order activity at your assigned locations. Please note that this report is for the MOPS software only. Any transactions being done as double entry or through Deltaworks integration will not be on this report.
Choose a location from the list on the left.
The selected stores will move to the right and show up under 'Selected Stores'.
Select a date range on the right. You can also filter by amount if needed and request only a summary. A check box is also available to request customer information IF it is available.
The results are displayed and can be exported to excel and printed. The money order number / amount / fee is displayed on the single page per store. The PLUS ![]() sign on the left will allow users to view the customer image information if available.
sign on the left will allow users to view the customer image information if available.
Top of the Document
BPS Report
The Bill Payment Report allows users to view detailed bill payment transactions. You can filter by date and even by processing type.
Use the 'BPS Report' to begin running a report.
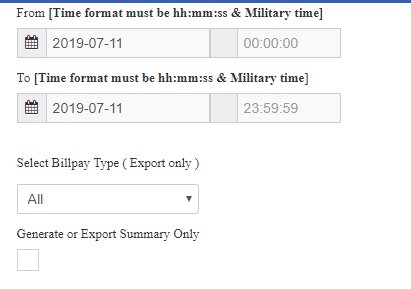
On the right, select a date range and time. You can also request a summary total and choose a Bill Pay Type if needed. All will be selected by default and full details will be displayed/exported.
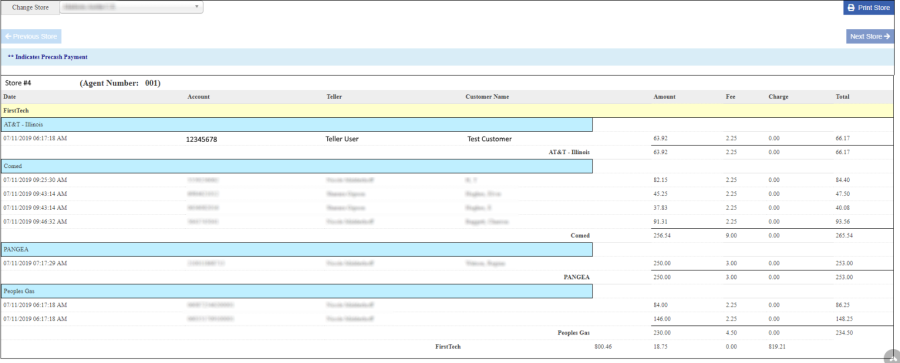
The entire date range of payments PER STORE will be displayed. As all reports, you can export and print as needed.
Top of the Document
Money Order Log
Money Orders equal to or greater than $3,000.00 are part of the Money Order Log.
Select the Money Order Log option from the dashboard.
Use the store selector to pick the store(s).
Choose a date range.
The results will display all the purchaser information, the money order information, and on whose behalf if applicable.
Top of the Document
CTR and SAR Reports
Currency Transaction Report and Suspicious Activity Report are used to detail transactions over $10,000.00 for compliance OR any, User indicated, suspicious activity.
Select the CTR Report option.
Use the store selector to choose your location(s).
Select a date range.
The data per store will be displayed. All required information for CTR reporting will be displayed.
Top of the Document
ATS Transactions (All)
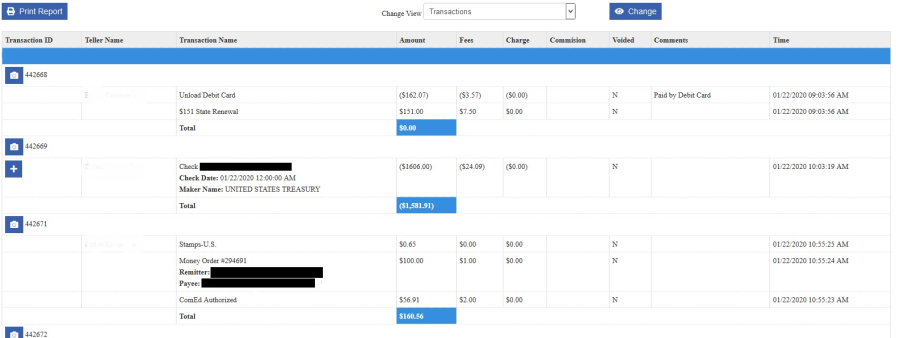
Generate a report of all transactions performed at a store or multiple stores, by all tellers.
Choose the report from the dashboard.
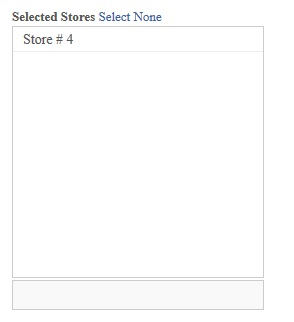
By default ALL stores are selected. Click on 'Select None', and then from the left menu, choose the store(s).
Select dates and then click 'Generate Report'.
The default view will show you transactions.
You can change the view of the transaction report.
Top of the Document
ATS Transaction (by Type)
This report allows you to filter the data you want to see from ATS by Type. Bill payments, Money Orders, or any misc. transaction you have setup at your locations.
Choose the report from the dashboard.
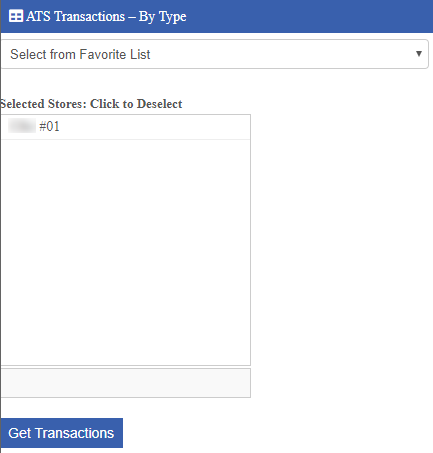
On the left side select your stores from your Favorite list
Once your stores are selected press 'Get Transactions'.
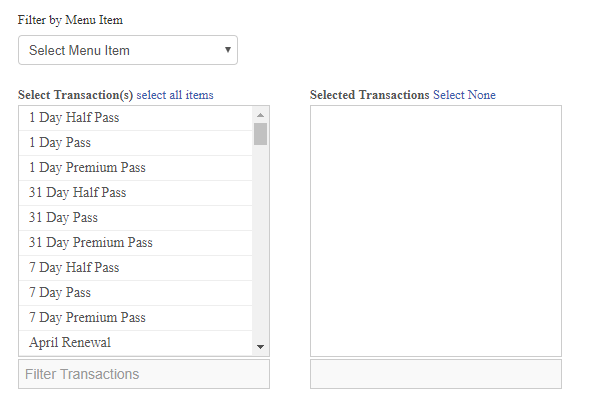
Select the ATS transaction menu item from the drop down. The example below is for bus passes.
Select a date range and any other properties and click Generate Report
Your results will be displayed below.
Top of the Document
Store Cash Report
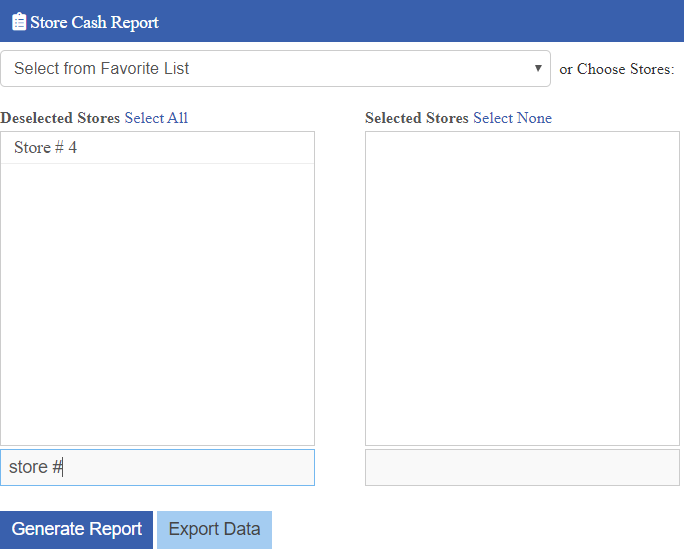
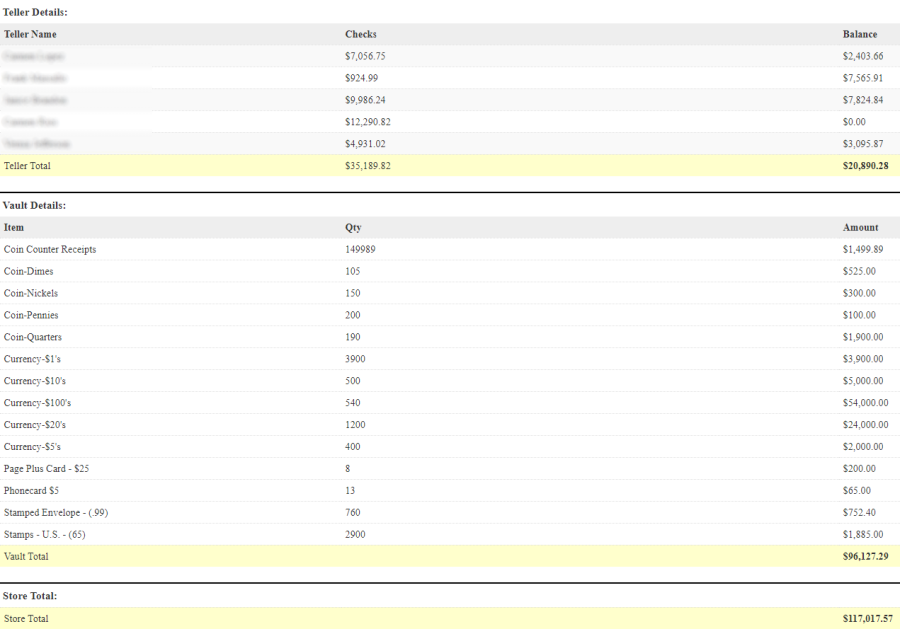
This is a real time report that will show you the current Teller and Vault cash position for the location(s) selected.
Start by selecting a location from your default list or choose a favorite. Click Generate Report.
The report will be displayed. It will include:
- Active User list - Everyone with an open session as of running the report
- Check Cashing totals for each user - this is to show you how many checks they have cashed so far
- User Balance - this is the user's current CASH @ CLOSE or current cash position
- Vault Inventory Details and Total
- Store Grand Total
This report will help you make business decisions on Cash Ordering.
Top of the Document
Teller Fees Report
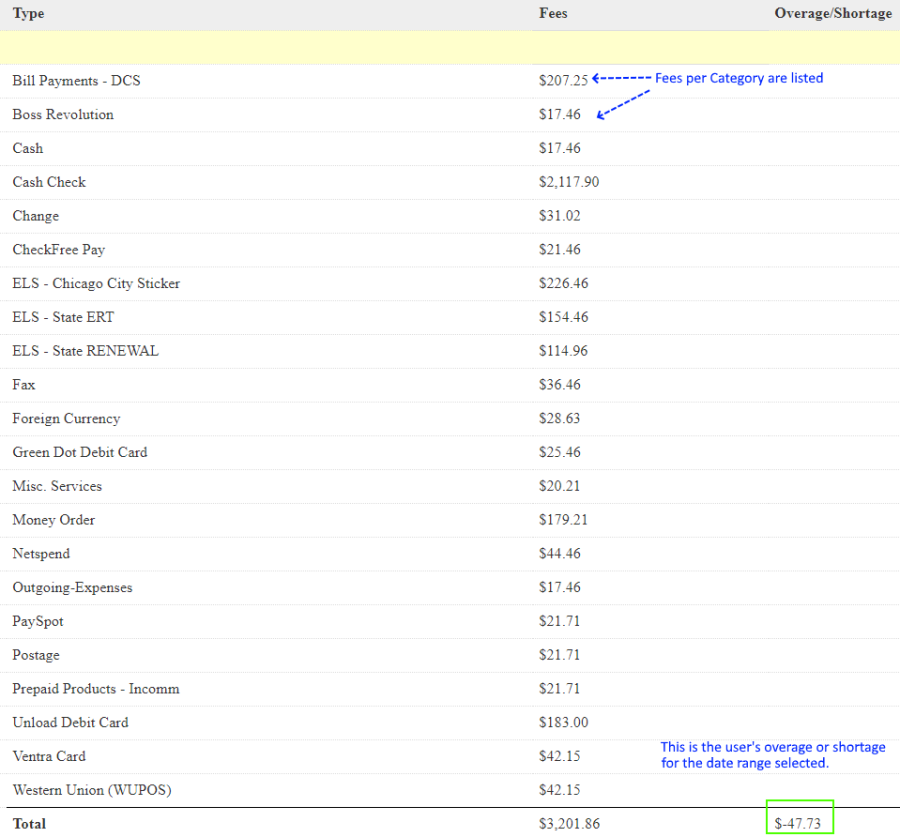
You can see teller fee totals for a selected date range and compare it to their overage and shortage for the same period.
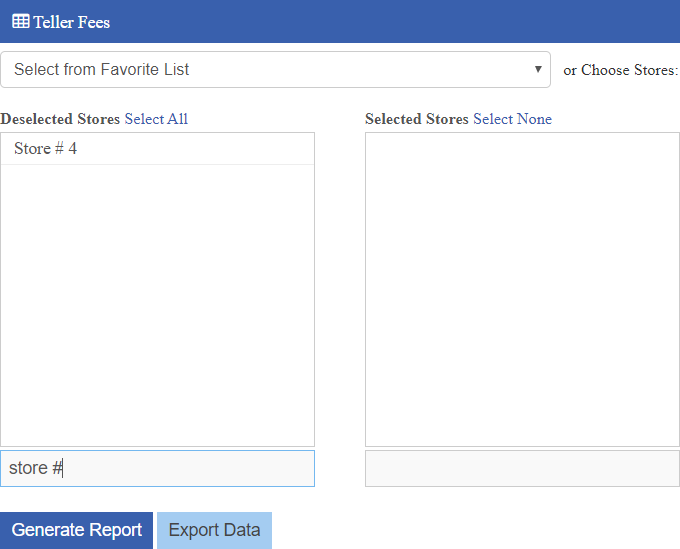
Select the Teller Fees Report option from the dashboard.
Choose the location(s) or pick from your favorites list.
Pick a date range on the right and then click Generate Report.
The system will show you the Location name and User names for each location. The system will group up the categories for you and give you the summary total for the date range you selected. In the example below we ran a report for an entire month. It also shows you the calculated overage and shortage for that same date range along with grand totals for everything.
Top of the Document
Wire Transfer Log
This report is only available if you are using the DCS integrated MoneyGram and Western Union products. You can select a NET amount to run a report on.
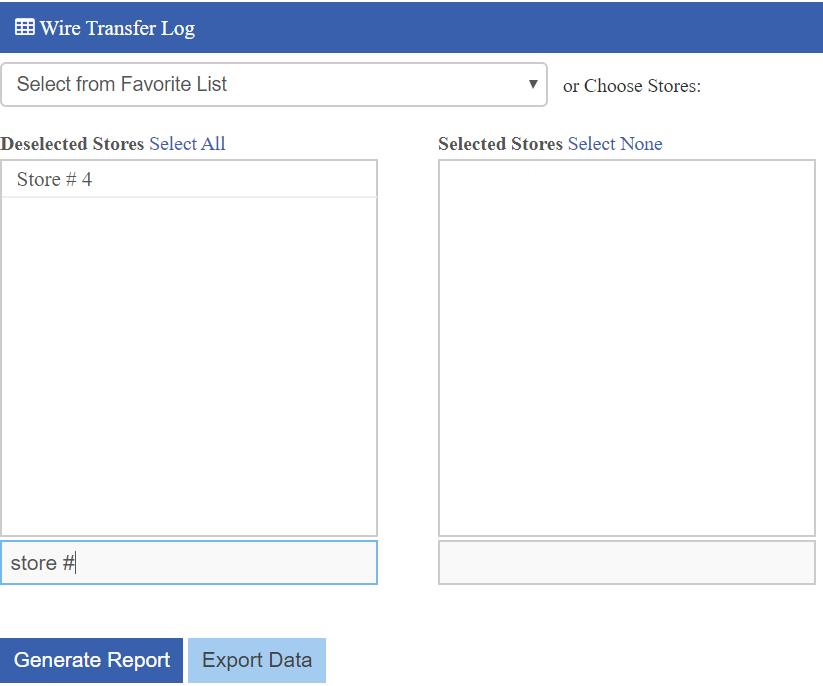
Select your location(s) or choose from your favorites list.
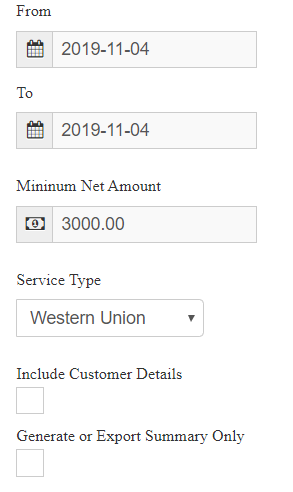
On the right, select a date range, choose a net amount, and select the service type based on which integration you are using. You can choose to include customer details, they will only be available if the customer is known.
The results will display the type of transaction, control number and amounts. Click the '+' sign to expand the details.
Top of the Document
OFAC Report
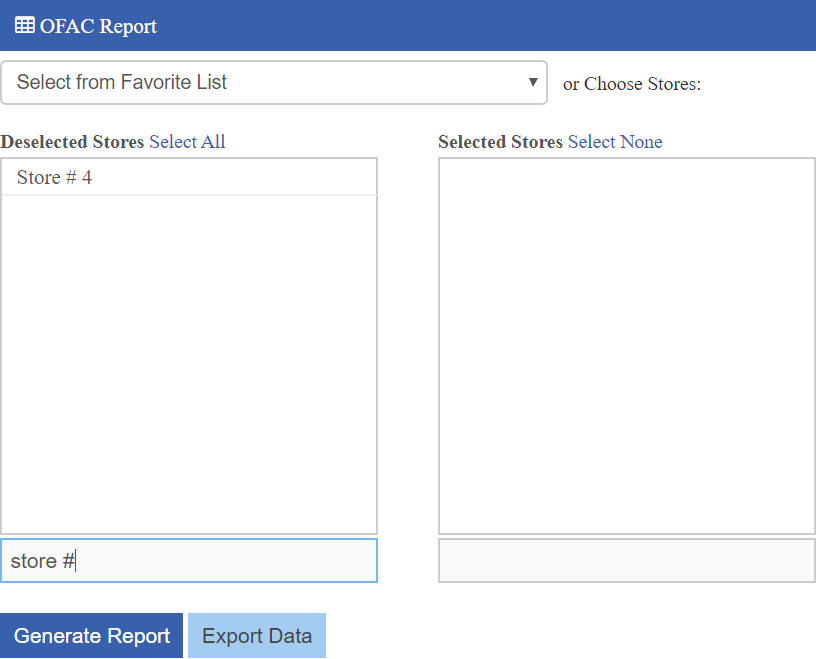
The OFAC Report displays the results of the OFAC check that happens at each of the location(s). It shows which names were checked against the OFAC List for the date range selected.
Select your location(s) or pick from your favorites list.
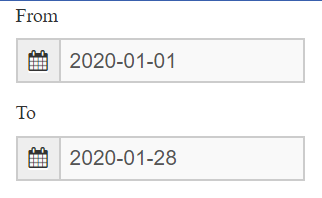
Choose the date range.
The following is displayed on the report:
- Customer Name
- SSN Info
- Location Info
- DOB
- OFAC Date - when the ofac check was completed at the location
- OFAC Checked - Yes or No
- Match Found - Yes or No
- Auto Detected - Yes or No. This means the ATS system ran a check automatically or not.
- Teller Name
- Reason - Unknown is default until NEW OFAC reasons are enabled at the point of sale
Top of the Document
Check-MO Report
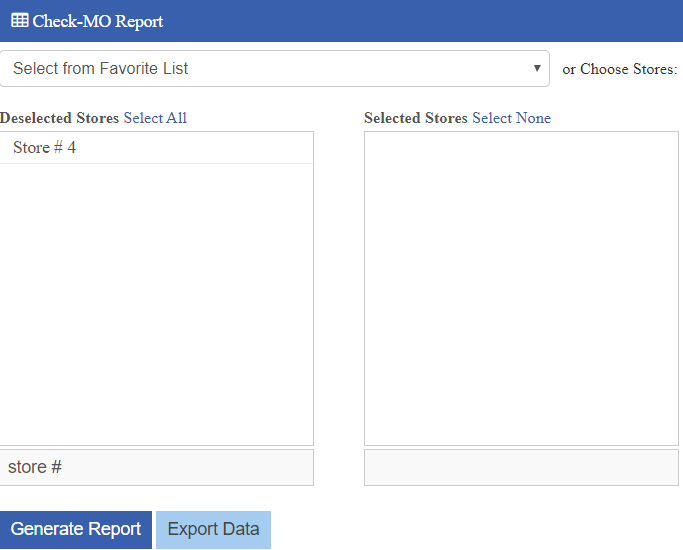
The Check-MO Report will show you transactions that contain Check Cashing + Money Orders in the same transactions. These are off setting transactions which reduce how much Cash is handed back to the customer at the end of the transaction. This report allows you to set configurable amounts to search for this type of activity as needed.
Select location(s) or choose from your favorite list.
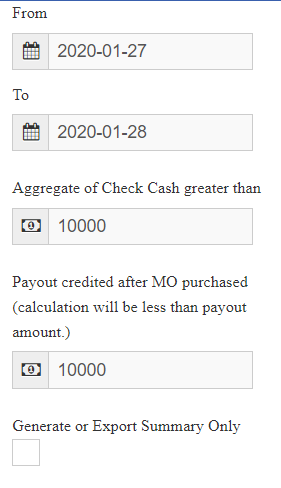
Choose a date range. The range of days will be limited based on how many locations you are running a report for.
Choose a Check Cashing amount and a Payout threshold. In the example below, I am looking for anyone who cashed check(s) over $10,000.00 and purchased money orders that resulted in cash being paid out up to $10,000.00.
The transactions that meet these requirements will be displayed. The example below resulted in $1,169.15 being paid to the customer at the end of the transaction. This means it was under the threshold of $10,000.00. If I were to change the threshold (the 2nd number above) to $1,000.00, this transaction below would NOT be displayed because they payout was over $1,000.00.
Top of the Document
Customer Lookup
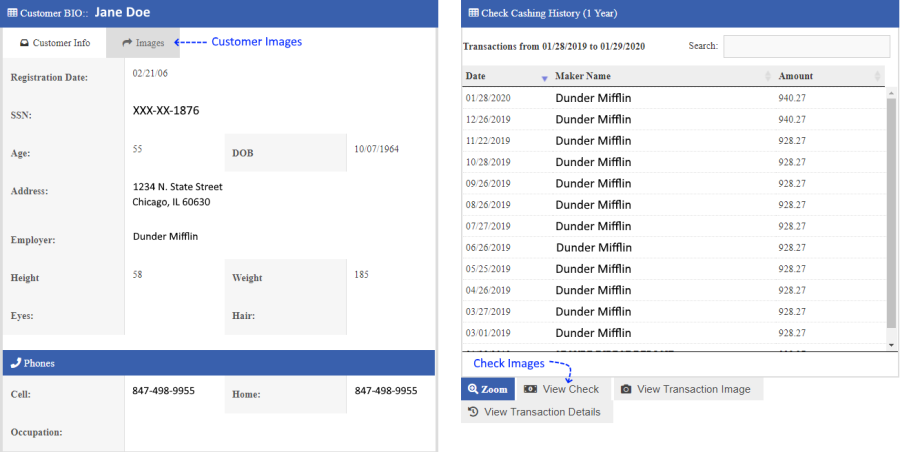
Customer lookup is the same as looking up a customer profile at the location level. You will be able to see 1 year of check cashing activity and customer details and images.
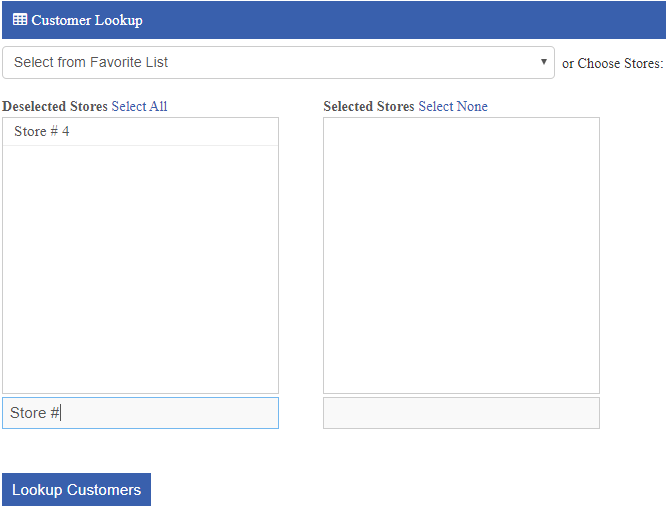
Select your location(s) or pick from your favorites list.
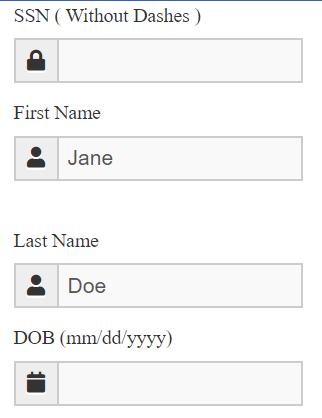
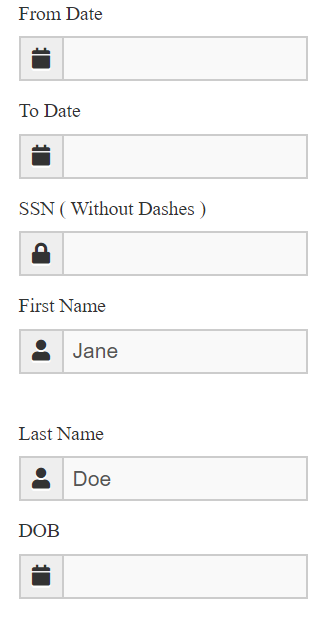
Use any/all of the fields to help search for the customer. Click Lookup Customers and the system will check all locations selected for the customer.
The results will be displayed. Click on the name to enter the details.
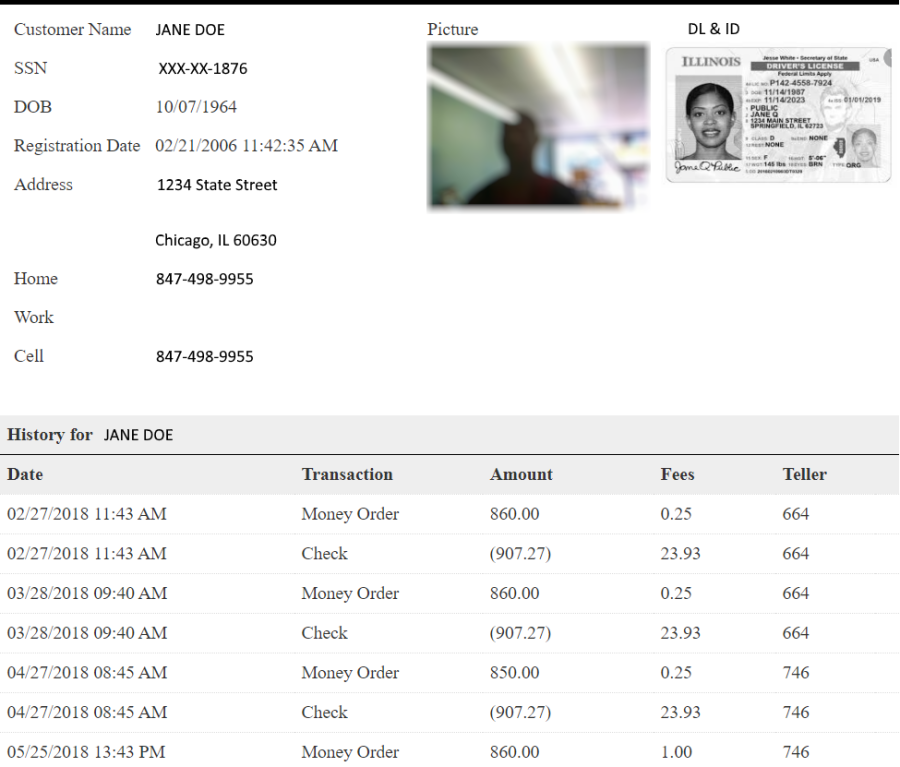
A new page will appear with the customer profile. Basic customer information and images are on the left. The check cashing activity will be on the right. Check images can also be viewed on this page.
Top of the Document
Customer Activity
Customer Activity is similar to customer lookup EXCEPT it will include all transactions known to the customer. The customer details and images are also displayed here and all their transactions are displayed in date order.
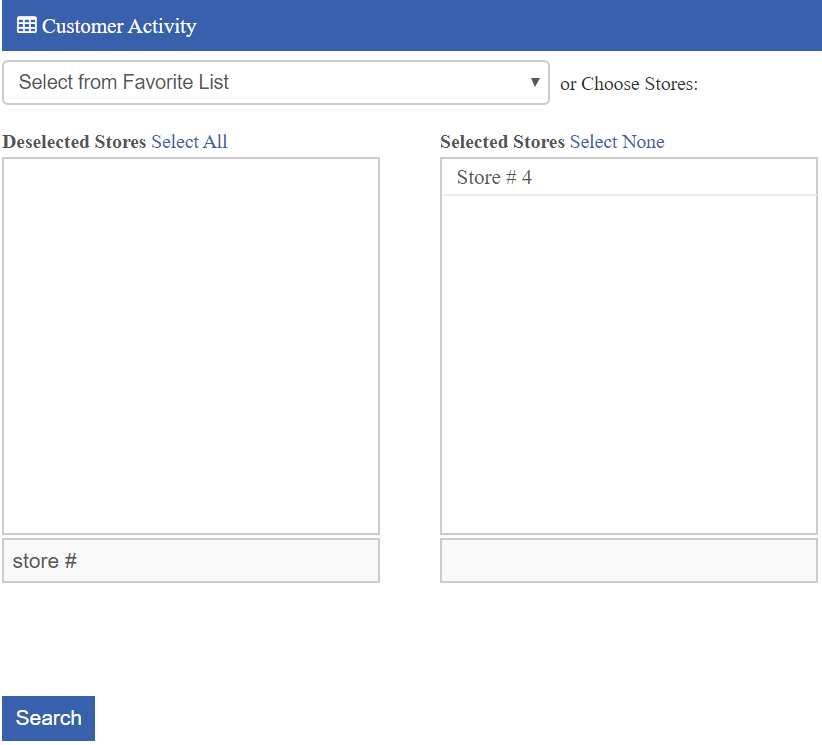
Select your location(s) or pick from your favorites list.
Use any of the fields on the right to search for the customer. Click Search.
The results will be displayed. Click the name to view the customer activity.
A new page will appear with the customer's profile and the list of transactions that have done.
Top of the Document
